Food is at the heart of everything Jewish but it’s more than just matzah balls and kugels. There is a culinary revolution taking place in the kosher world.
Jake Cohen’s harissa tomato bisque with challah grilled cheese
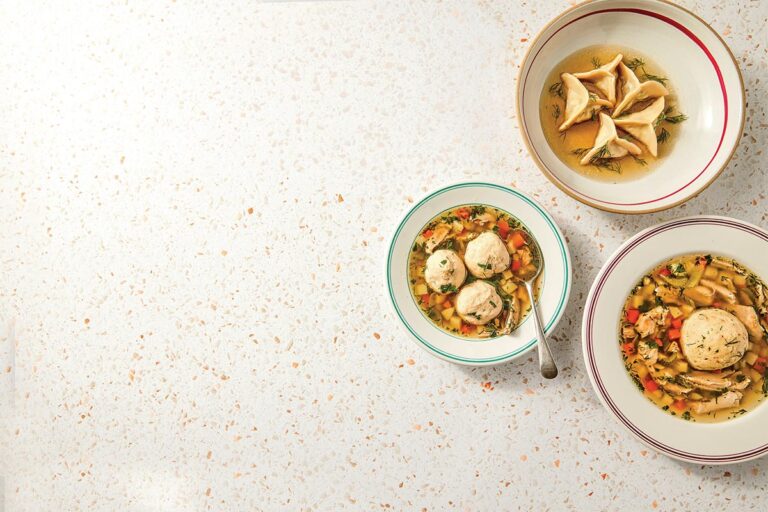
Jake Cohen’s roasted chicken matzo ball soup
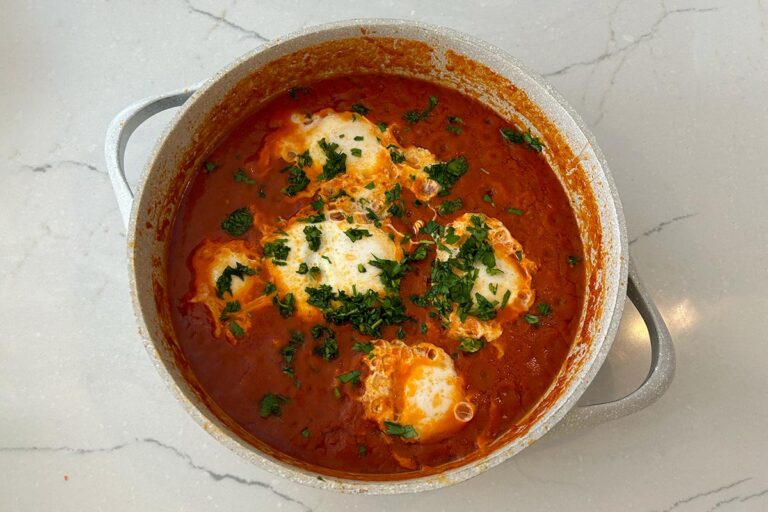
Semi-baked shakshuka
This self-taught chef cooks gourmet seven-course kosher meals in his London garden
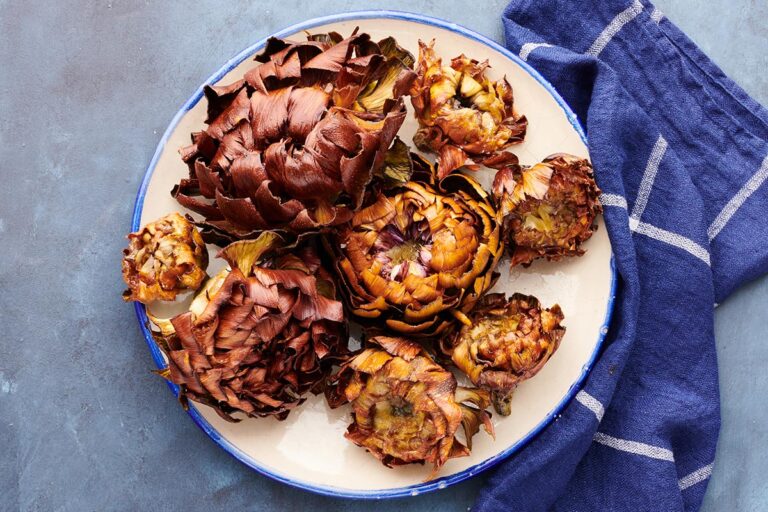
Carciofi alla Giudia: A deep dive into the origins of Rome’s Jewish-style fried artichokes
30 Shabbat foods from around the world
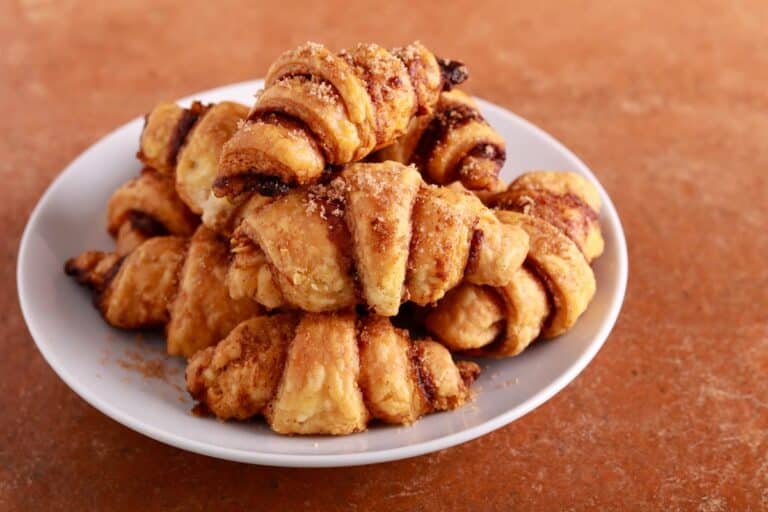
Grandpa Emil’s famous rugelach
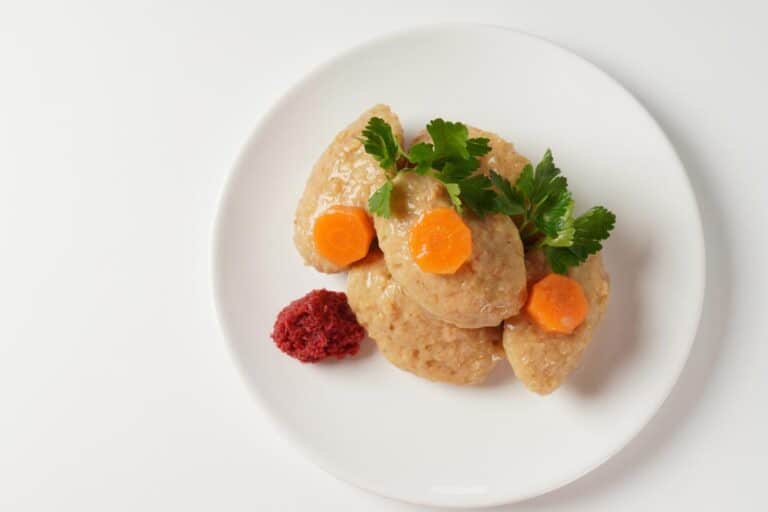
Classic gefilte fish
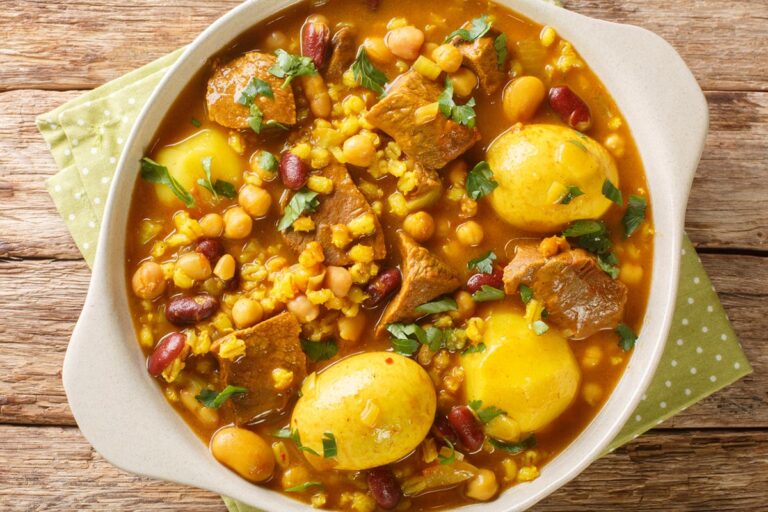
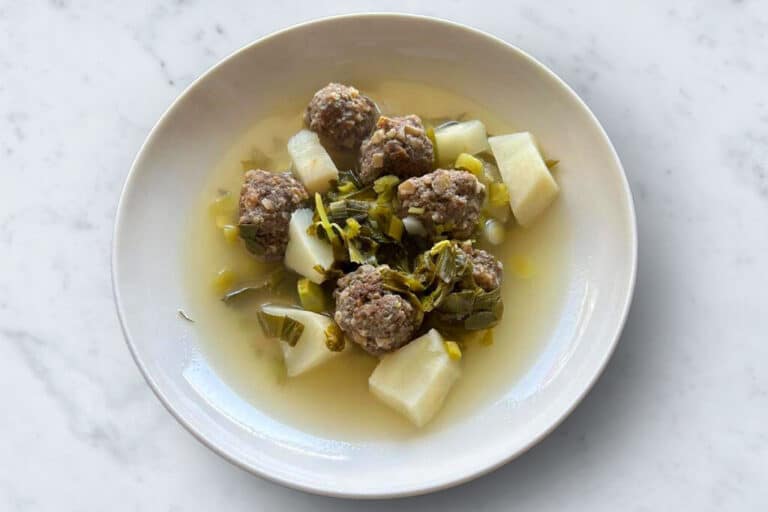
How to make Turkish meatball (köfte) soup
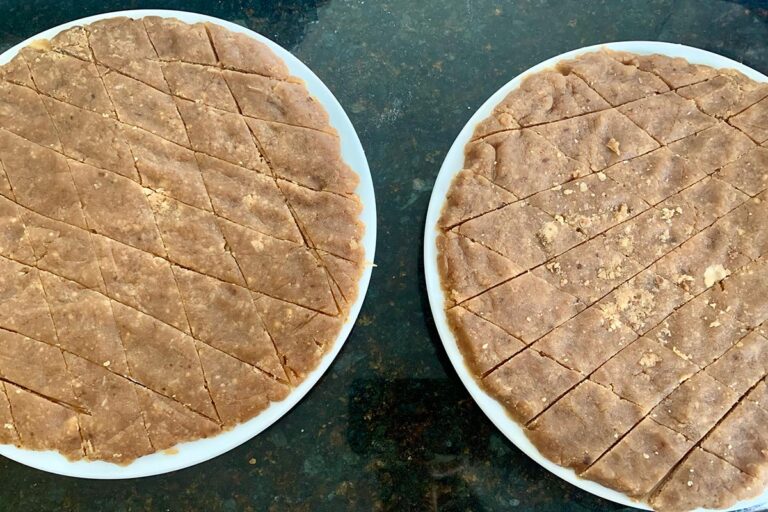
How to make memorial halva
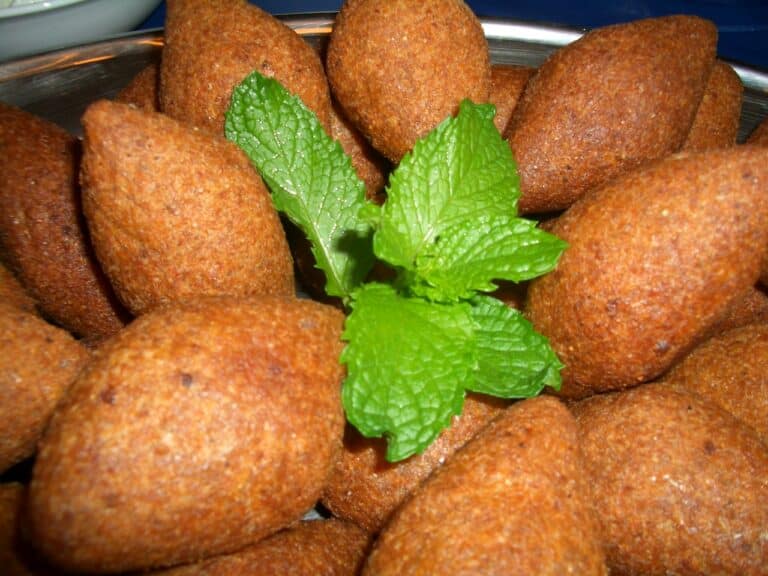
Easy and delicious kibbeh
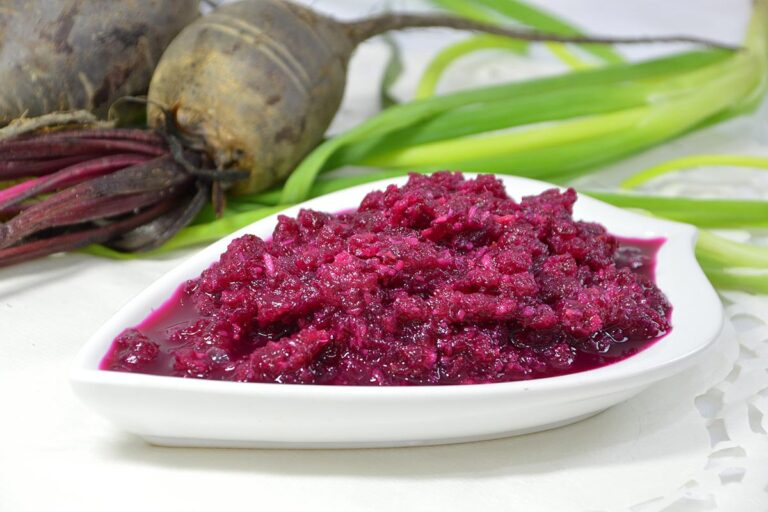
The maror that packs a punch
FOLLOW US
Listen to Wondering Jews with Mijal and Noam every Wednesday!
Listen Now →
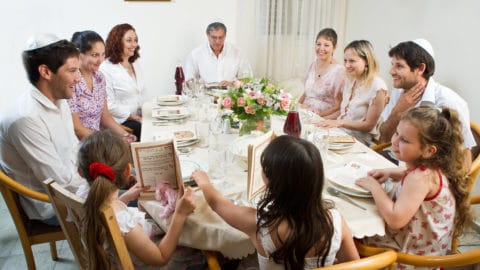
Prayers and readings for peace to add to your Passover seder in 2024
How to celebrate Passover
The Jewish holidays in 2024
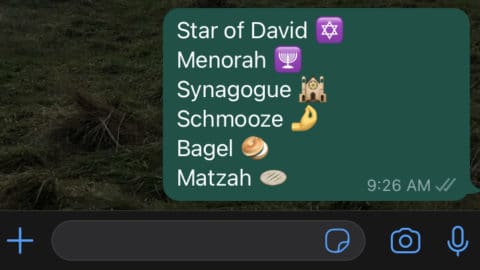
All the Jewish emojis